How to create a low maintenance garden
February 20, 2024
Check out our new luxurious grass 'Oasis' / Check out our huge clearance sale on 2m width rolls, while stock lasts!

On long summer evenings, we all love to spend time in the garden with friends and family and have a barbecue. By creating your own outdoor bar, you can entertain your guests all night long. This is a great idea for your back garden, as well as for restaurants and pubs.
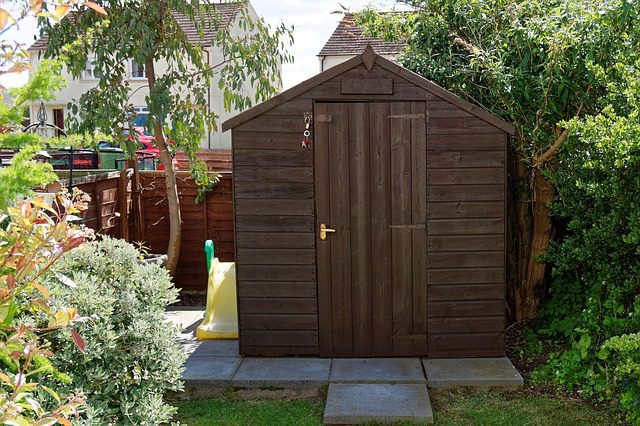
You can build your own structure using timber, or for an easy alternative, you can use a wooden shed as the main structure. Follow our helpful instructions to build your own outdoor bar or for general garden bar ideas to make the most of your summer evenings.
Before you start building, you need to prepare the area in which you’ll be building your bar. Remove any garden furniture or debris, sweep up any leaves, and ensure that the ground is level. If this preparation requires moving or lifting heavy items, ensure that you ask a family member for help.
You will need a fair amount of equipment to ensure that your outdoor bar is safely put together. We have included the equipment to build a platform for your bar to sit on, as well as the recommended shed style for your bar.

Make sure that there is enough space for your shed, with 2 metres extra in front of the bar. This will become a decking area that you can place chairs onto.
Cut two pieces of timber for the width and six pieces of timber for the length. You will need the four extra lengths to create inner joists. Position them in place before fixing together, to ensure that everything is the right size.
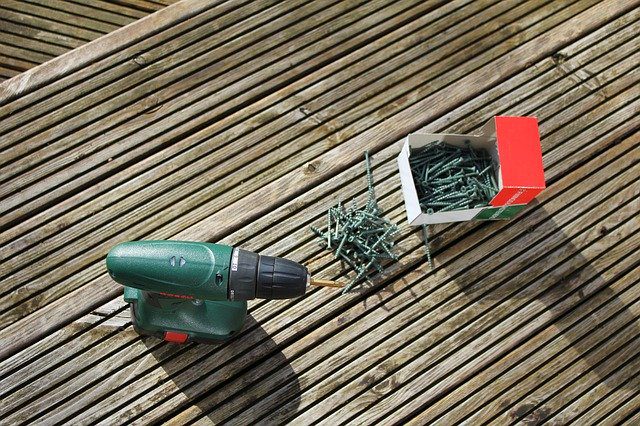
Fix the outer frame together using an electric drill and screws. Next, place your inner joists within the frame and ensure they are equally spaced using a tape measure. Once you are happy, screw these lengths into the frame.
Lay down the floor of your shed on top of your platform. Check it is level using your spirit level. Once you’re happy, secure it in place.
Erect your walls and secure them into place. You may need help from a family member in order to do this safely.
Measure the centre of your front and back panels to ensure that the roof support bar will be central. Fix this into position.
You can now fix your roof panels to make the shed watertight. Once they are secure, you can add roofing felt, using felt tacks to keep it in place.
Finally, you can attach any trims which came with your shed, and fix the fascia boards on the front, covering the felt. You should pre-drill the holes to prevent them from splitting.
You should now move on to building the decking in front of your bar. Measure your decking boards to fit the space between your shed and the end of the platform. Safely cut them to size using a chop saw.
Next, lay down your decking boards to ensure they fit correctly, using a spirit level to check they are level. You can then fix them into place, using 50mm screws.
Add some wooden posts to the corners to support your handrail. Once they are level, fix them into place with some 100mm screws.
Cut the railings into the right length and screw them into place. Make sure these are extra secure.
Finally, cut some spindles to the correct length and secure these into place, evenly distributing them. We would recommend securing them two inches apart.
Cut 4 pieces of timber to the same height of the window. Secure two of the posts against the inside of the front wall. Decide how wide you want your bar to be. We would recommend half a metre (50cm) wide. Use your measuring tape to measure the distance and mark the floor with a pencil. Once you are happy, secure them in place.
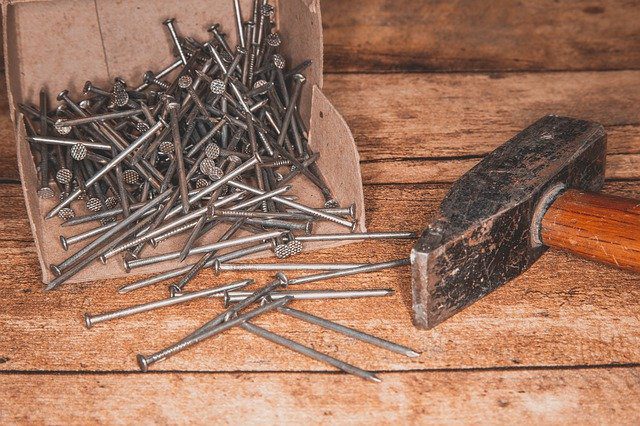
Create the top of your bar by cutting some plywood into shape. This should sit on top of the support posts, with a slight overhang at the front if you would prefer. Once you’re happy with the placement, secure it into place using a hammer and nails.
To ensure that everything you store under the bar stays hidden, you can cover up the exposed side using some plywood. Measure the height of the posts and the width of the bar to find the dimensions. Once you’ve cut the plywood into place, secure it onto the side of the bar using a hammer and nails.
And there you have it! An outdoor bar in your own garden, perfect for entertaining guests and celebrating with your family.

To store your alcohol, you can put up some shelves on the back wall. Make sure they are level using a spirit level, and add some brackets underneath for extra support.
Laying artificial grass on the decking in front of your outdoor bar will not only add some colour, but it is also ideal for wiping up any spillages. Simply use a mild detergent on a sponge or our all-in-one artificial grass cleaner and wipe it away.
Put up some fairy lights in and around your bar for a cosy feel. You can run an extension lead from the house into the bar, so that you can plug in fairy lights and any mini fridges.
If you need advice on the right artificial grass for your project, get in touch with our friendly team today.

Samples
To your door in 3 days

Fast Delivery
Free, fast delivery
Designed in the UK
Experienced UK designers

Quality Products
Guaranteed warranties on every product

Unsure what you need? Our experts can help with any questions.